DIY Your Own Marbled Pot This Easter

DIY Your Own Marbled Pot This Easter

As children, we all spent time decorating eggs for Easter with various water marbling techniques. It was a fun and simple way to introduce us to crafting techniques in our younger years and actually produced some cool results.
Marbling is experiencing a comeback and becoming more and more prevalent in interior design and craft-ware. Essentially you can add a colourful marbled effect to anything, but we think that a marbled indoor pot would be perfect to house your Easter treats this holiday!
We used a Replicotta pot by HomeLeisure as a base for the marbled feature.

To achieve this marbled look you will need the following:

To begin, take your container and fill it with room-temperature water. The temperature is extremely important as it’ll stop the nail polish from drying on the water before you’ve submerged the pot. Be sure that the container is something you don’t have an attachment to because it may be ruined during the marbling process. We used the StoreMax Stacking Tub 12L by HomeLeisure.
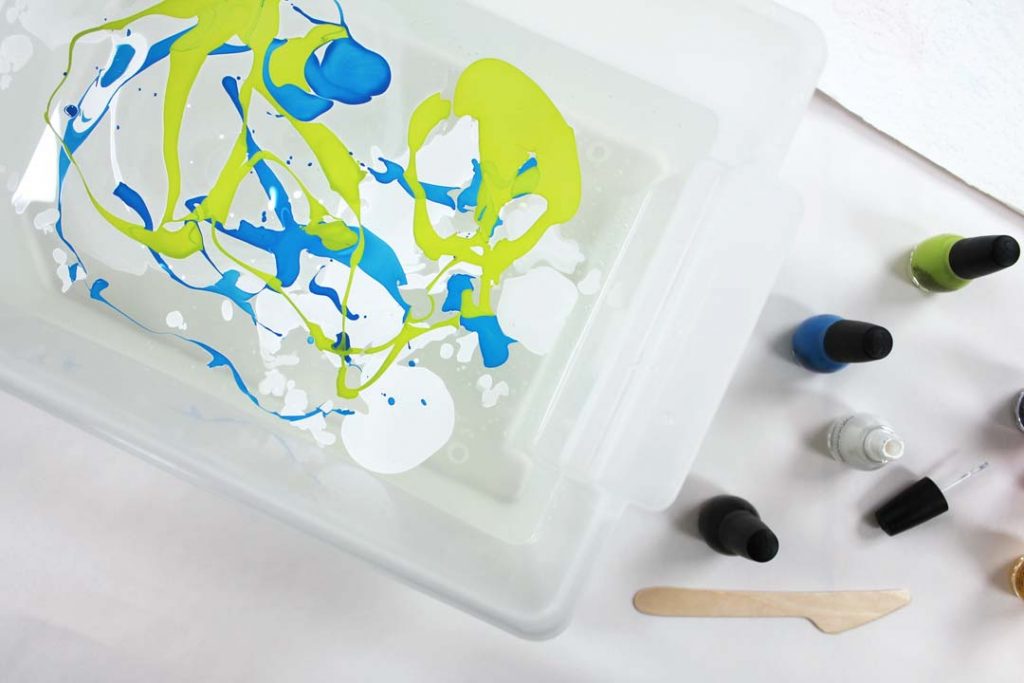
Pour nail polish over the water, one colour at a time.
Once the container is filled, pour out some of the nail polish onto the water surface. Pour only one colour at a time, and pour close to the water’s surface. Pouring from a distance will cause the nail polish to sink to the bottom.
Use a throw-away item to swirl the nail polish on the water’s surface.
Once you have all the colours you want poured out, take a skewer or throw-away item and poke around, pulling the colour in any desired direction. Be sure to do this quickly, and don’t stir too much as the nail polish still needs to sit nicely on the surface.
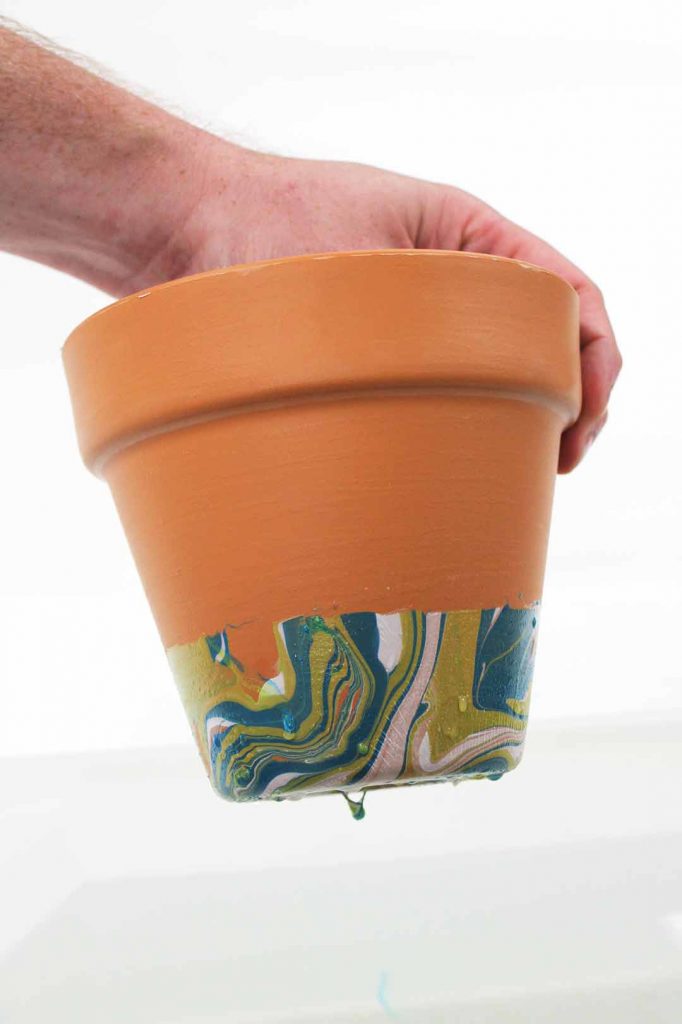
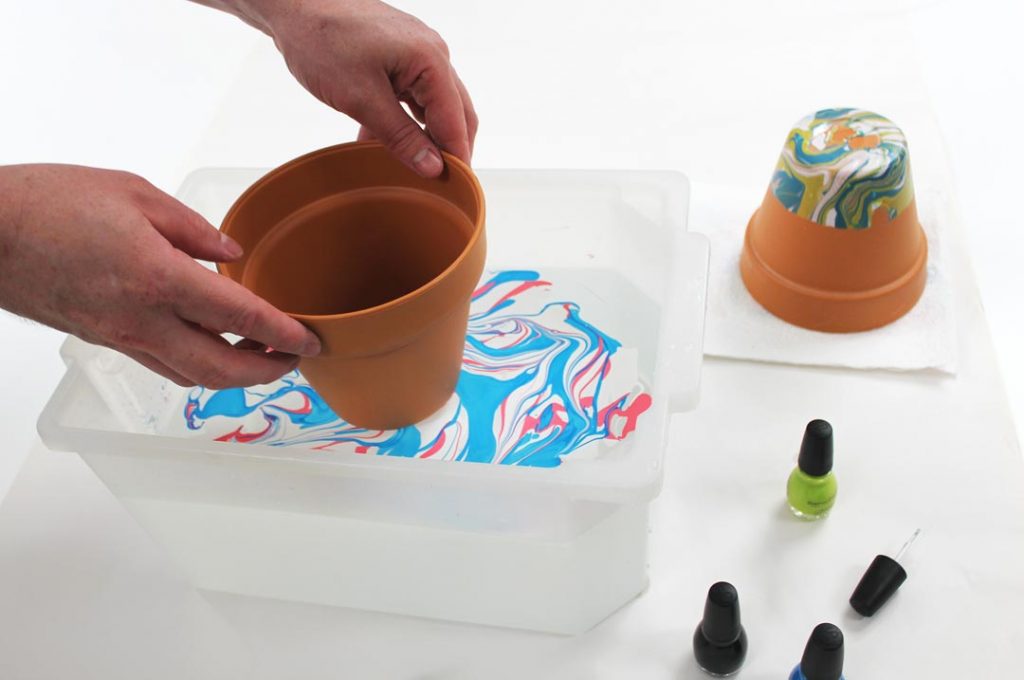
Submerge the pot slowly into the water to transfer the marbled effect.
Next, hold the inside of the pot and lower it slowly into the water. Ensure that the area you want to be decorated is fully submerged. Once covered, pull it out and place it upside-down over a paper towel. Allow it to dry completely for around 30 minutes.
Once complete, clear the water and try a new colour combination!
You can clear the water by using your skewer/throw-away item to collect the remainder of the nail polish. Then, to create more, simply pour out new nail polish and repeat the process! Try different colours to produce different results. We used pink and blue for our Easter themed pots, blue and green for something a little more retro, and finally black and gold for a classic feel.
Now you can use your marbled pots to decoratively display your Easter eggs this year. We filled ours with shredded paper and lay some dip-dyed eggs on top. One of our resident rabbits was very pleased with the outcome – wanting to display herself instead!
Just add eggs and a bunny and you’ll have the perfect Easter display!
Latest News

Modernize Your Laundry, For Less

We love to renovate our homes, but doing so costs thousands of dollars and it’s a very stressful time to go through. Or if you have renovated, next you need new furnishings and accessories to go with your new look. Here’s an item to help get a modern laundry look for less.

Read More